Updating PCoIP Management Console Certificates after Endpoint Discovery
The steps provided next are for updating your PCoIP Management Console certificates if your certificate expires, or if you need to update your PCoIP Management Console certificate for any other reason.
Note: Update endpoints with new certificate before updating the PCoIP Management Console certificates
It is important to update endpoints with their new PCoIP Management Console certificate before you update the PCoIP Management Console’s certificates. Otherwise, your endpoints will not be able to trust the PCoIP Management Console, and your profile update will fail when you attempt to apply it.
Step 1: Update Endpoints with the New PCoIP Management Console Certificate
To update endpoints with the new PCoIP Management Console certificate:
-
Ensure that all ungrouped endpoints are moved from the ungrouped category into a group.
-
Ensure that every group (or at least one parent group) is associated with a profile.
-
Update all existing profiles to push the new certificate to endpoints. For each profile:
-
From the PCoIP Management Console’s top menu, click PROFILE.
-
Click the profile’s device type tab.
-
In the SOFTWARE section, ensure that the right firmware version is selected for your endpoints.
-
Click SECURITY in the left navigation pane, scroll down to Certificate Store, and select Set in Profile.
-
Click Add New, select your new PCoIP Management Console public key certificate, and click Open.
-
This certificate must have a .pem extension.
-
Click Upload.
-
Click SAVE at the top of the page.
-
Apply the profile immediately or create a schedule to update your group(s) with the profile.
-
Step 2: Upload the New PCoIP Management Console Certificate to the PCoIP Management Console
To upload the new PCoIP Management Console to the PCoIP Management Console:
Note: Uploading certificates causes application to restart
Uploading a certificate signs out all PCoIP Management Console users and causes the PCoIP Management Console application to restart. Users will not be able to access the PCoIP Management Console for one to two minutes.
-
From the PCoIP Management Console’s top menu, click SETTINGS.
-
Click SECURITY in the left pane and select the CERTIFICATES tab in the SECURITY pane to the right.
-
Click UPDATE.
-
Click SELECT CERTIFICATE, select the PCoIP Management Console’s public key certificate file (.pem), and then click **NEXT*.
-
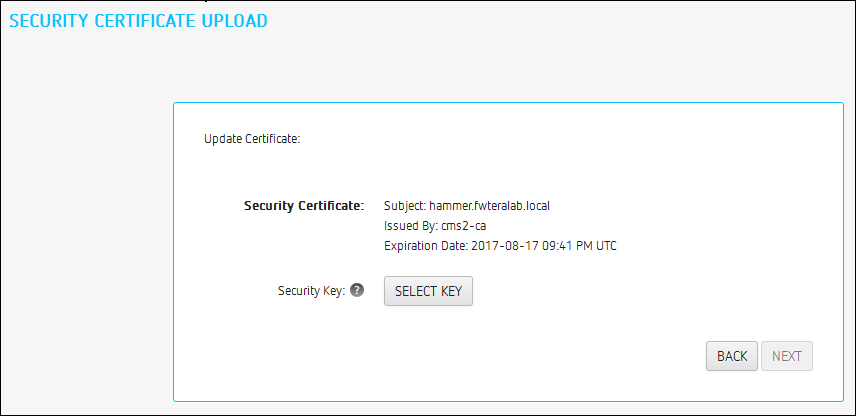
Click SELECT KEY, select the PCoIP Management Console’s private key certificate file (.key), and then click **NEXT*.
-
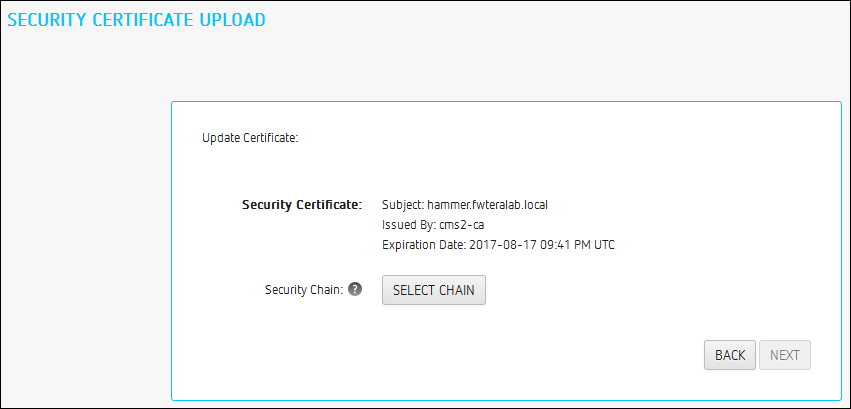
Click SELECT CHAIN, select the PCoIP Management Console’s chain certificate file (.pem), and then click **NEXT*.
-
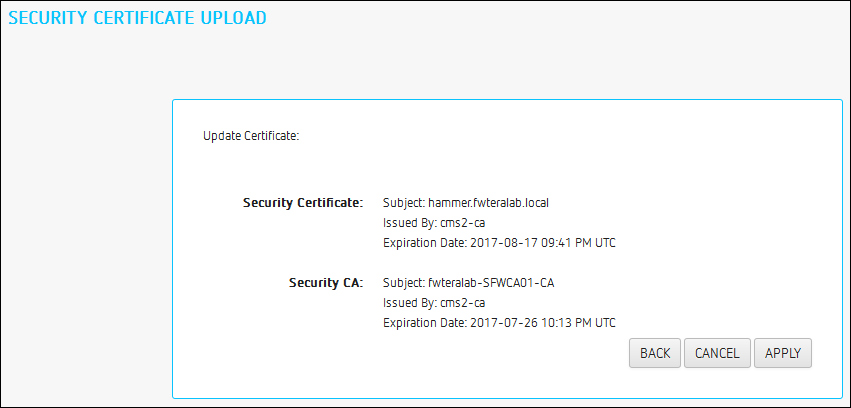
Click APPLY.
-
Read the warning message and then click APPLY.
-
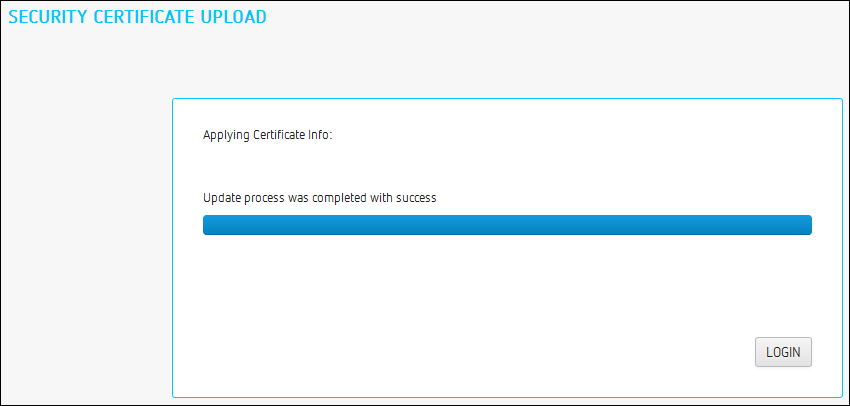
When the update process completes, click LOGIN to log in to the PCoIP Management Console again.
Step 3: Update Your DHCP or DNS Server
If your DHCP or DNS server is configured to provision endpoints with the PCoIP Management Console’s public key certificate fingerprint, this information must be updated next. You can update your server with your PCoIP Management Console certificate fingerprint as follows:
-
DHCP server: Edit the EBM X.509 SHA-256 fingerprint option for the PCoIP Endpoint option class. For details, see Configuring DHCP Options.
-
DNS server: Edit the EBM-SHA-256-fingerprint DNS text record. For details, see Adding a DNS TXT Record.